Migrate via Cloudflare Dashboard
Step 1: Extract your current configuration
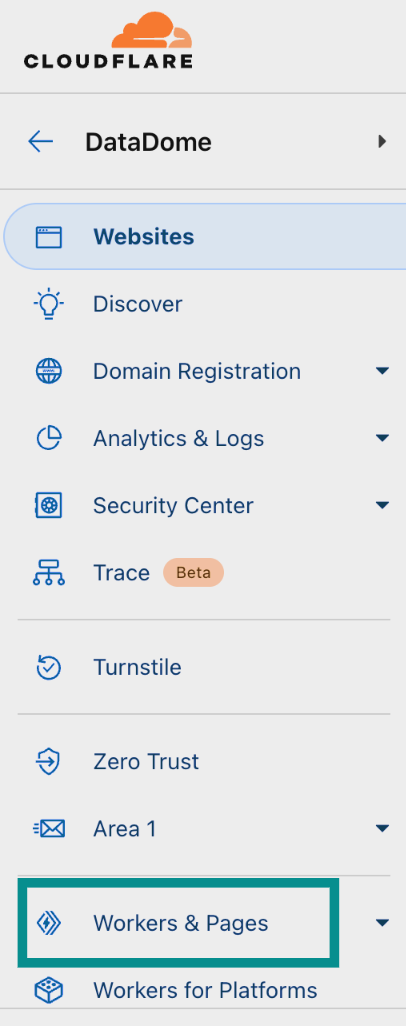
- Connect to your Cloudflare Dashboard and go to the Workers & Pages section.
Cloudflare Dashboard.
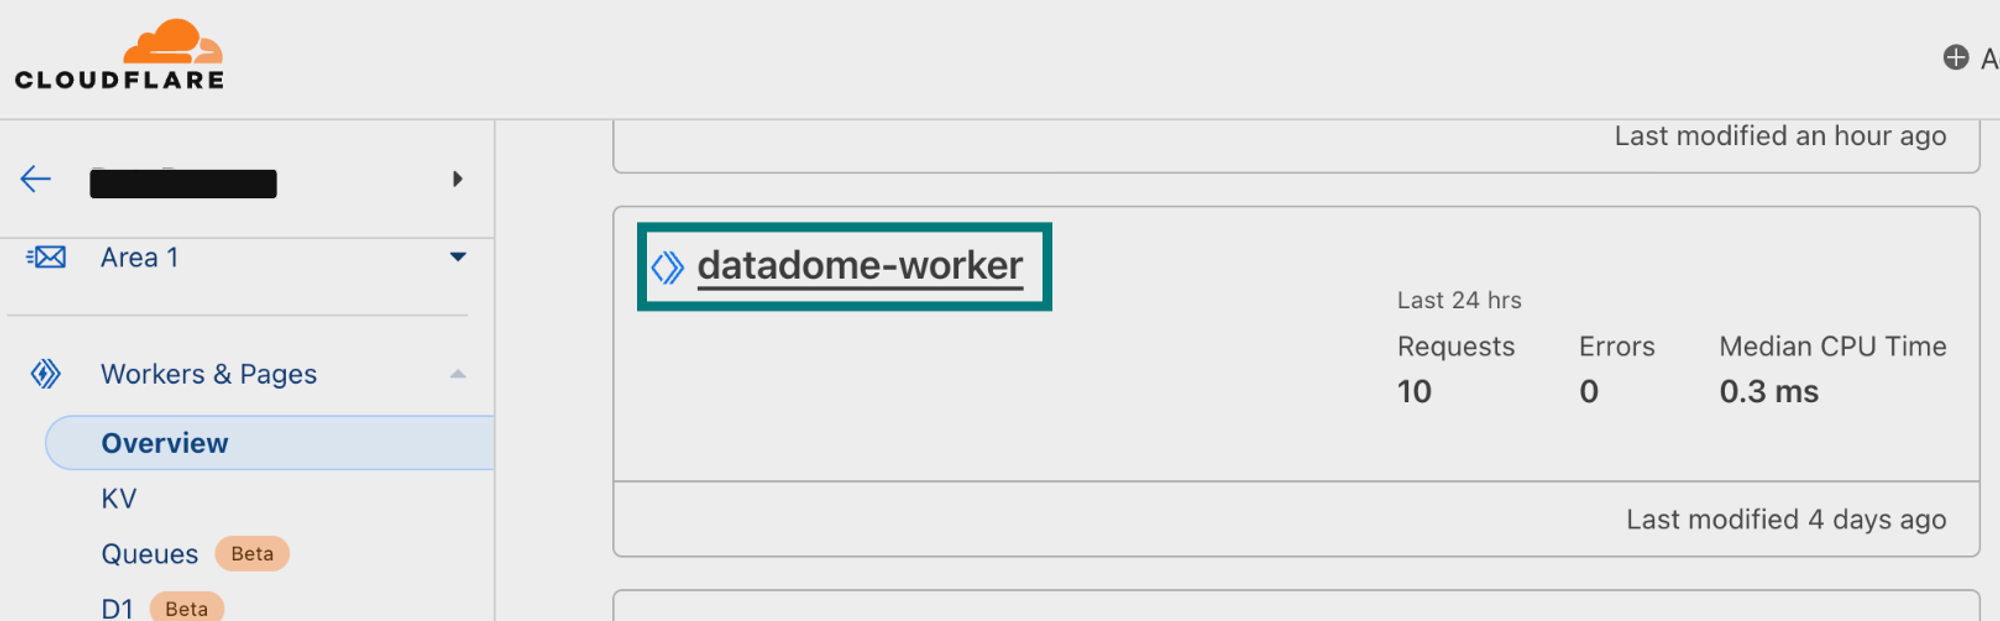
- In the Overview page, click on your current DataDome Worker, in this example
datadome-worker.
Overview of Workers.
- Click on the Edit code icon at the top of the page.

Quick edit Worker.
Step 2: Map the v1 configuration to your v2 configuration
- Retrieve the specific values that you may have set to configure your DataDome Worker that are not the default value to reuse them in the Worker v2 integration.
| Name in Worker v1 | Default value | Name in Worker v2 |
|---|---|---|
| DATADOME_LICENSE_KEY | 'YOUR_DATADOME_SERVER_KEY' | DATADOME_SERVER_SIDE_KEY |
| DATADOME_JS_KEY | '' | DATADOME_CLIENT_SIDE_KEY |
| DATADOME_JS_URL | 'https://js.datadome.co/tags.js' | DATADOME_JS_URL |
| DATADOME_JS_ENDPOINT | '' | DATADOME_JS_ENDPOINT |
| DATADOME_JS_TAG_OPTIONS | '{ "ajaxListenerPath": true }’ | DATADOME_JS_TAG_OPTIONS |
| DATADOME_TIMEOUT | 300 | DATADOME_TIMEOUT |
| DATADOME_LOG_VALUES | [] | DATADOME_LOGPUSH_CONFIGURATION |
| DATADOME_URI_REGEX | null | Fused with DATADOME_URL_REGEX_INCLUSION |
| DATADOME_URL_REGEX | null | DATADOME_URL_REGEX_INCLUSION |
| DATADOME_URI_REGEX_EXCLUSION | See list of static assets below. | DATADOME_URL_REGEX_EXCLUSION |
| DATADOME_HOSTNAME_REGEX_EXCLUSION | null | Is now set inside Worker's Triggers -> Custom Domains |
| DATADOME_JS_HOSTNAME_REGEX_EXCLUSION | null | Fused with DATADOME_JS_URL_REGEX_EXCLUSION |
| DATADOME_JS_URI_REGEX_EXCLUSION | null | Fused with DATADOME_JS_URL_REGEX_INCLUSION |
| DATADOME_URL_REGEX_EXCLUSION | null | DATADOME_JS_URL_REGEX_EXCLUSION |
| DATADOME_JS_URL_REGEX | null | DATADOME_JS_URL_REGEX_INCLUSION |
| DATADOME_IP_FILTERING | null | DATADOME_IP_EXCLUSION |
| DATADOME_ENABLE_DEBUGGING | false | DATADOME_ENABLE_DEBUGGING |
| DATADOME_ENABLE_GRAPHQL_SUPPORT | false | DATADOME_ENABLE_GRAPHQL_SUPPORT |
/\.(avi|flv|mka|mkv|mov|mp4|mpeg|mpg|mp3|flac|ogg|ogm|opus|wav|webm|webp|bmp|gif|ico|jpeg|jpg|png|svg|svgz|swf|eot|otf|ttf|woff|woff2|css|less|js|map)$/iStep 3: Migrate to new version
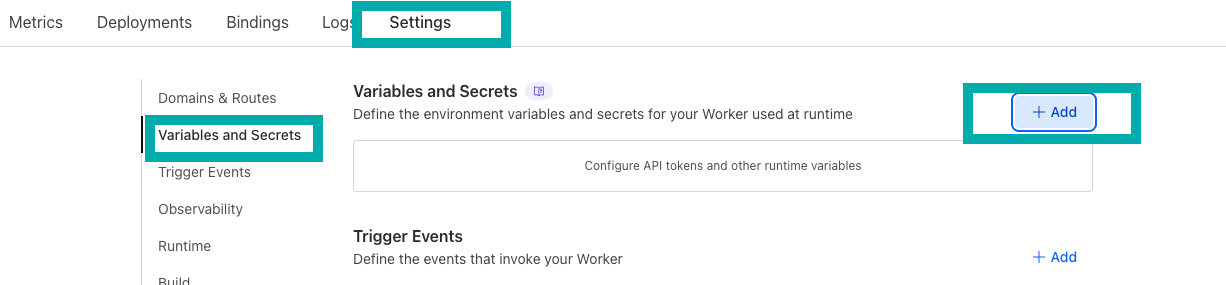
- In the Settings tab, inside the Variables and Secrets panel, click on Add .
- Select the type Secret.
- Enter the variable name
DATADOME_SERVER_SIDE_KEYand set the value that is available in your DataDome dashboard. - Click on Deploy.
- Click on Add again.
- Select the type Secret.
- Enter the variable name
DATADOME_CLIENT_SIDE_KEYand set the value that is available in your DataDome dashboard. - Click on Deploy.
- Click on the Edit code icon at the top of the page.

- Download the latest version of our Cloudflare Worker script.
- Delete the existing code and paste the code from
dist/datadome.jsin the Script Editor. - Update the settings in the code using the table created in step 2.
- Click on Deploy.

- Congrats! You migrated from DataDome Worker v1 to DataDome Worker v2!
Updated 5 months ago
Did this page help you?