Apigee
Before the Apigee proxy processes a client request, the proxy will call the DataDome API using a ServiceCallout policy.
Depending on the API response, the integration will either block the request and return the content provided by DataDome, or let Apigee proceed with the regular process.
The module has been developed to protect the users’ experience: if any errors were to occur during the DataDome process or if the call to DataDome reaches a timeout, the integration will automatically assume a 200 for that request and continue the process normally.
Compatibility
- Apigee X
- Apigee Edge
Prerequisites
This article assumes that the user has already:
1. A Google Cloud account: https://console.cloud.google.com/
2. Created a project in GCP: https://console.cloud.google.com/projectcreate
3. Created an Apigee proxy: https://apigee.google.com/edge
Installation
You have two options to install the module: by importing the whole package or importing the files manually. We recommend using the first option if you just created a basic proxy, otherwise use the second option.
Option 1: import
Kindly note that this process is only applicable for newly created proxies, otherwise, all your proxy configuration will be overwritten, including the HTTPProxyConnection BasePath and the HTTPTargetConnection URL. If you want to import DataDome manually, see here
- In the Apigee overview screen, choose Develop > API Proxies from the left menu

- Click on the Proxy that you want to include the DataDome integration

- Switch to the Develop tab

- Click on the top-right burger menu

- Click on Import revision

- An Import revision modal will be shown, browse to the location of the zip file provided by DataDome that you downloaded
- Click on Import

- A toast message will let you know that the import has been successful

- Update the HTTPTargetConnection URL : click on default under the Target endpoints header, and replace the temporary value with the URL of your target endpoint as required.
.png")
- Update the HTTPProxyConnection BasePath: click on default under the Proxy endpoints header, and replace the temporary value with your base path as required. (The base path is part of the URL used to make requests to your API).
.png")
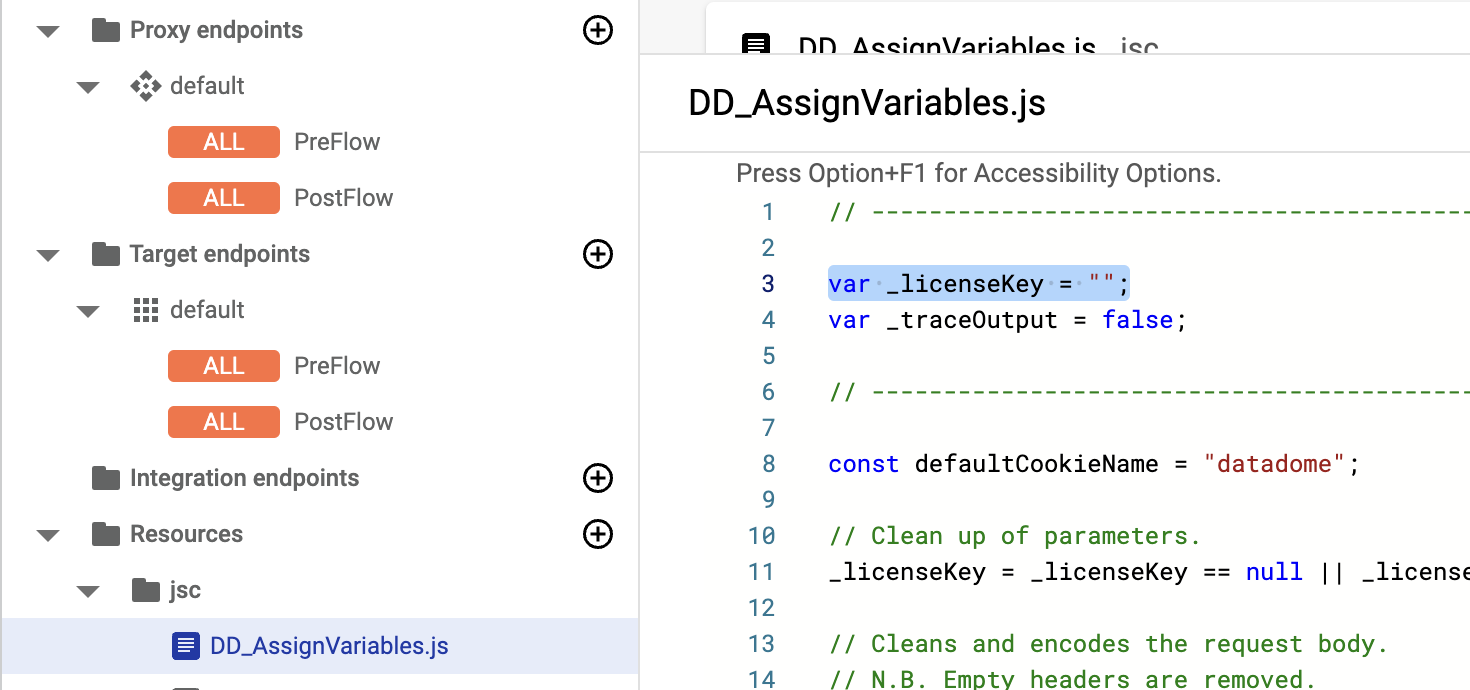
- Set up your DataDome Server-side key in DD_AssignVariables.js with your own API server key provided by DataDome. You can find this key inside our dashboard. Update the other parameters as described in the Settings section if needed.
- Click on the Deploy button to see the above changes in action

Option 2: manual import
This option is recommended for users who want to integrate the call to DataDome within their already functional Apigee proxies. The following process will be repetitive and we kindly advise you to double-check naming so that no issues will be encountered.
- Click on the Proxy that you want to include the DataDome integration

- Switch to the Develop tab

- Click on the Add Policy button

- A Create Policy modal will be shown

- For each of the following, create a policy as instructed
| Name | Policy Type | Display name | Resource type | Resource name | Endpoint Type | HTTP target |
|---|---|---|---|---|---|---|
| JS-DD_AssignVariables | Javascript | JS-DD_AssignVariables | Javascript | DD_AssignVariables.js | - | - |
| JS-DD_ReadResponse | Javascript | JS-DD_ReadResponse | Javascript | DD_ReadResponse.js | - | - |
| JS-DD_ReturnHeaders | Javascript | JS-DD_ReturnHeaders | Javascript | DD_ReturnHeaders.js | - | - |
| RF-DD_Blocked | Raise Fault | RF-DD_Blocked | - | - | - | - |
| SC-DD_Call | Service Callout | SC-DD_Call | - | - | HTTP | https://api.datadome.co/validate-request/ |
- Download code here and go through the following three resource files and two XML files below, then copy and paste the code directly
- Press the Switch to Text Editor button on the top-right to view the code editor
- Press Save to update the files
- DD_AssignVariables.js
- DD_ReadResponse.js
- DD_ReturnHeaders.js
- RF-DD_Blocked.xml
- SC-DD_Call.xml
- Click on PreFlow under the Proxy endpoints > default

Paste the following steps at the beginning of the PreFlow section, inside the Request tag
<Request>
  <Step>
    <Name>JS-DD_AssignVariables</Name>
  </Step>
  <Step>
    <Name>SC-DD_Call</Name>
    <Condition>{ ! (request.path JavaRegex ".*.(avi|flv|mka|mkv|mov|mp4|mpeg|mpg|mp3|flac|ogg|ogm|opus|wav|webm|webp|bmp|gif|ico|jpeg|jpg|png|svg|svgz|swf|eot|otf|ttf|woff|woff2|css|less|js)$")}</Condition>
  </Step>
  <Step>
    <Name>JS-DD_ReadResponse</Name>
  </Step>
  <Step>
    <Name>RF-DD_Blocked</Name>
    <Condition>DD_Response.status.code = 401 || DD_Response.status.code = 403</Condition>
  </Step>
</Request>- Click on PostFlow under the Proxy endpoints > default

Paste the following step at the beginning of the PostFlow section inside of the Response tag
<Response>
  <Step>
    <Name>JS-DD_ReturnHeaders</Name>
  </Step>
</Response>- Set up your DataDome Server-side key in DD_AssignVariables.js with your own API server key provided by DataDome. You can find this key inside our dashboard. Update the other parameters as described in the next section if needed
- Click on the Deploy button to see the above changes in action
.png")
Settings
As can be seen below, most parameters default to a value. However, it is important to note that the license key must be set up such that this module can function.
| Setting | Found in | Description | Default |
|---|---|---|---|
| domain | Policy SC-DD_Call | API endpoint URL Available endpoints | api.datadome.co |
| protocol | Policy SC-DD_Call | API endpoint protocol | http |
| timeout | Policy SC-DD_Call | API connection timeout (in milliseconds) | 150 |
| inclusion pattern | Proxy endpoint PreFlow | Regular expression to include URLs N.B. This pattern needs to be AND’d ( | n/a |
| exclusion pattern | Proxy endpoint PreFlow | Regular expression to exclude URLs (exclude static assets) | List of excluded static assets below |
| license key | Resource DD_AssignVariables.js | License key to access the API | |
| trace output | Resource DD_AssignVariables.js | Allow DataDome to log the process to console | false |
".\*.(avi|flv|mka|mkv|mov|mp4|mpeg|mpg|mp3|flac|ogg|ogm|opus|wav|webm|webp|bmp|gif|ico|jpeg|jpg|png|svg|svgz|swf|eot|otf|ttf|woff|woff2|css|less|js)$”FAQ
How to add inclusion pattern?
You should add an and operator to the exclusion pattern already in place in the second step of the PreFlow.
We encourage you to take a look on the Apigee documentation here to find the condition you need.
Below an example restricting the path:
(request.path MatchesPath "/my_apigee_path/my_iclusion") Add that to the SC-DD_Call condition with the and operator:
<Step>
    <Name>SC-DD_Call</Name>
    <Condition>{ ! (request.path JavaRegex ".*.(avi|flv|mka|mkv|mov|mp4|mpeg|mpg|mp3|flac|ogg|ogm|opus|wav|webm|webp|bmp|gif|ico|jpeg|jpg|png|svg|svgz|swf|eot|otf|ttf|woff|woff2|css|less|js)$") and (request.path MatchesPath "/my_apigee_path/my_iclusion") }</Condition>
</Step>
Updated 3 months ago